BRONX, NY- After almost two years, I can smile with confidence. I am finally free of my Invisalign braces! The sore mornings and consistent appointments are over. I can take a deep breath and grin. The journey had ups and downs, but after a lot of adjustments (and a deep hole in my pocket), I can say the treatment was worth it. Allow me to guide you through this process of the “perfect bite”.
A little exposition: my bite felt off after I had three (yes, three) separate wisdom teeth extractions. I felt like my jaw had shifted. I was no longer able to chew on the left side of my mouth, and even when I tried, I ended up biting my tongue. I was comfortable with my smile, so vanity was not the issue. All I wanted to do was eat normal again. I decided to make an appointment for a consultation with an orthodontist.
My orthodontist, Dr. V. led me through the consultation. I was asked to open and shut my mouth a few times and to smile in different ways. After 15 minutes, Dr. V. gave me the run down for a treatment plan. She discovered I had a slight overbite and since my wisdom teeth were not removed simultaneously, my bite had shifted. There was also some crowding on my bottom front teeth, and I was told this could be fixed too. I could go with either the metal braces or Invisalign.
Dr. V. sent me home with a price gauge for both treatments. The metal braces would have been the more affordable choice, but I had seen two of my best friends go through that hassle in high school. After a little more research, I decided to go with Invisalign. I had seen the advertisements for it and thought “how hard can it be?” At my next appointment I had several things done: a set of x-rays, 3D scans, molds, and head shots. This was all sent to the Invisalign lab to create my trays.
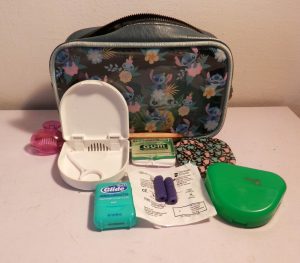
While the trays were getting made, I had begun to diligently brush and floss after every meal. One of the benefits of the Invisalign treatment is that it forces you to ramp up your oral health routine. I also ordered a few things to make the process easier:
- An ortho key, to help remove the braces without the use of my hands in public places.
- Ortho wax, to smooth sharp edges on the trays and avoid blisters.
- Floss picks, which are easier to use and carry than regular dental floss.
- Chewies, to help snap the trays in place.
- A makeup bag to carry all this stuff with me. I also added my toothbrush, and a pocket mirror. It was perfect to store the case for my trays too.
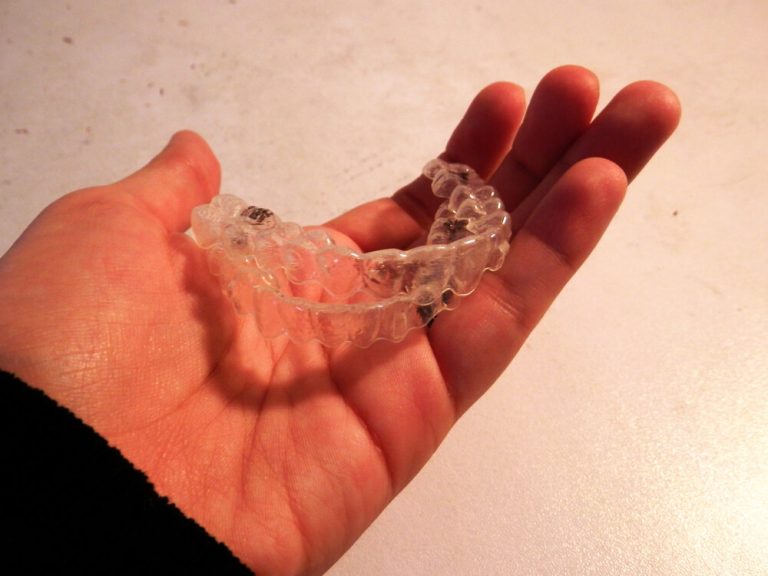
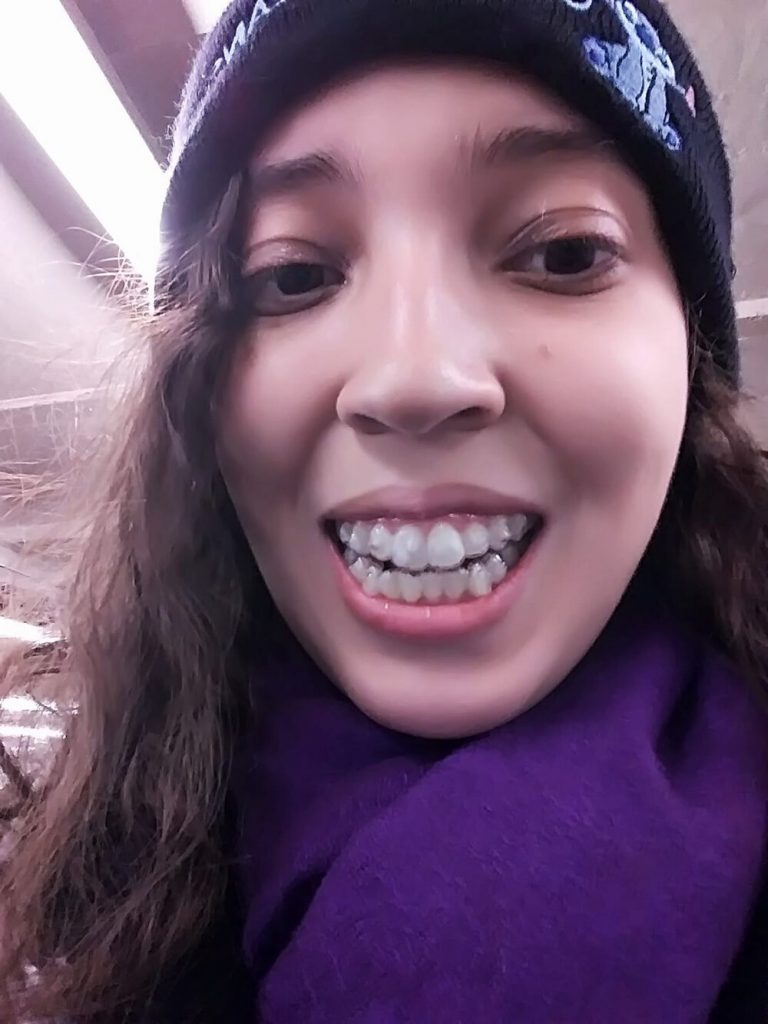
On April 20th, 2018, the buttons were attached. Buttons are used to add pressure points for the trays to focus on. It helps guide your teeth to their new positions (a small but important detail left out of the Invisalign commercials). Parts of my teeth were also “shaved” off to make more space for movement. The teeth shaving was painful, but I had to get through it. Once the attachments set, my first trays were snapped on. Those trays hurt! I was not expecting so much pain to come from the plastic trays. Dr. V. explained my teeth were not used to being “moved”, so the discomfort was something I needed to adjust to every two weeks when I switched out the trays.
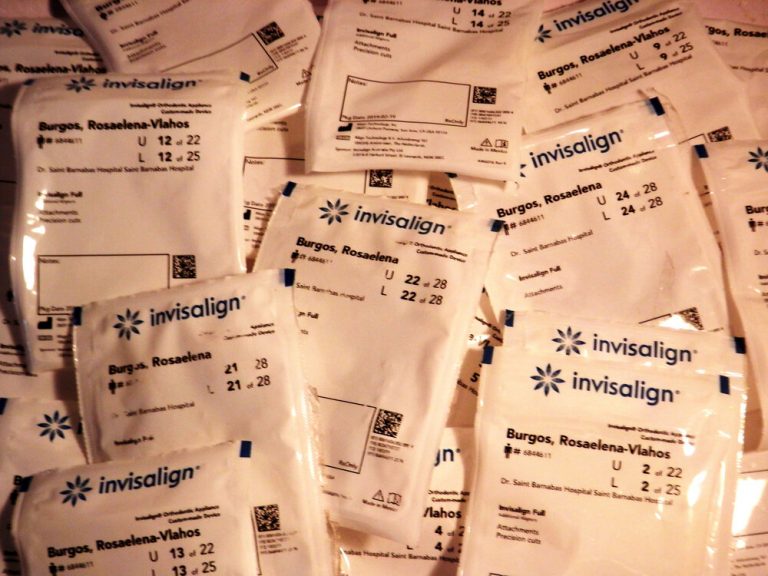
After the first two weeks of hell, the process got easier. I received a new packet of trays at every appointment. The packets were marked with three things: my name, DR. V’s name, and the number of the tray. Each new set of trays was packed individually. Dr. V. would take new photos of my smile when needed to track the progress.
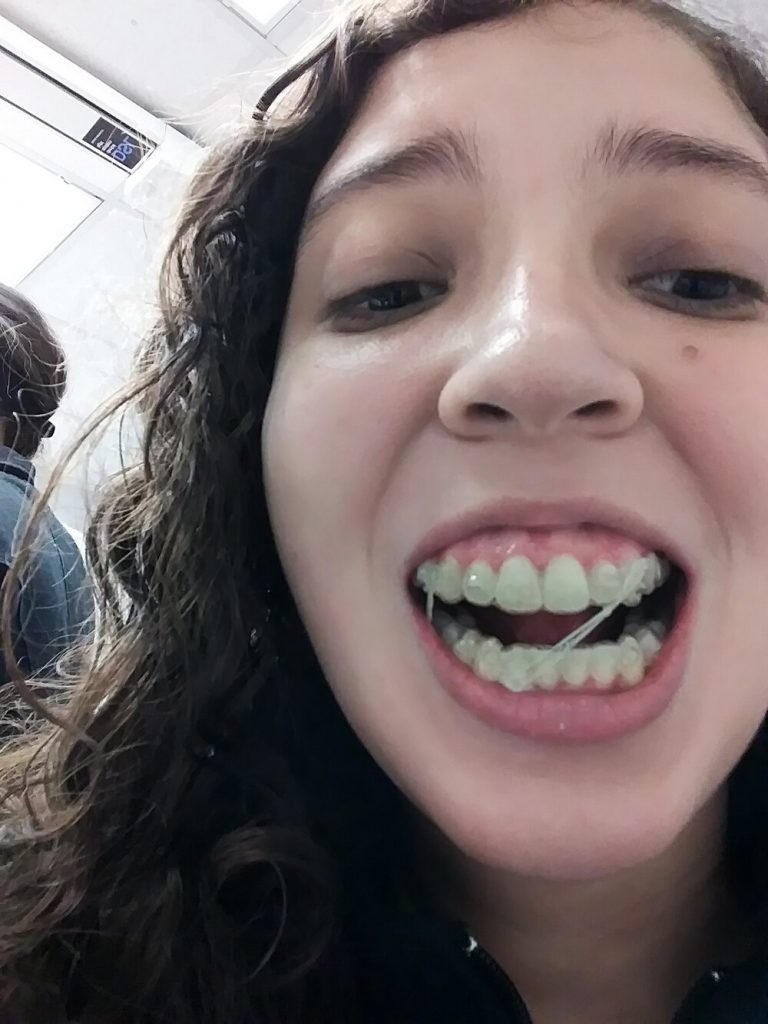
As time went on, I noticed an improvement with my bite. My bottom teeth were slowly getting straighter. Halfway through the treatment, I was offered a TADs (Temporary Anchorage Device) to keep perfecting the shifting of my jaw. TADs are tiny screw implants that are placed in the gums and are used help shift teeth into place with the use of wires or elastic bands. I said, “hell no!” So, Dr. V. went with plan B, and attached elastic bands. New buttons were placed so the bands could anchor themselves whenever I snapped them in.
The elastic bands were a new adjustment. I was sometimes embarrassed to yawn because the bands would snap and fly out of my mouth or into my gums. The bands came out along with the trays before eating and brushing. Afterwards, I needed to put the trays on first and then anchor the bands back into place.
At this point of the post, those of you who are considering Invisalign are probably thinking “Elastic bands? Buttons? None of this is mentioned in the commercials.” It was a shock to me too. Every time Dr. V. mentioned a new phase, the same thought came to me: “what the hell did I get myself into?” To Dr. V’s credit, she did tell me the elastic bands were coming when my treatment plan was broken down to me before I signed the contract.
The elastic bands were the home stretch of my treatment. A few months later, Dr. V. told me the elastics were no longer needed. I did a mental happy dance in the chair as she removed the anchor buttons. Weeks later, my evaluation was cleared and all the buttons on my top teeth were taken out. Dr. V told me the treatment was almost over. A 3D scan was taken of my improved bite, and the two months wait began for my retainers.
Before I get into the final phase of my Invisalign treatment. I want to share with you a few things I learned from wearing the trays. I will also share tips if you do decide to go for Invisalign.
- DO NOT drink soda, coffee, wine, or other beverages other than water while the trays are on. The trays will change color and people will notice if you have purple or brown teeth.
- Your dental hygiene will improve. Flossing and brushing after every meal are essential. The trays can push food debris into your gums if you do not do this.
- Snacks will be a thing of the past. Dr V. told me some patients have lost weight while on Invisalign because it is tedious to brush and floss after every snack. There were moments I wanted to join coworker and friends in “snack time”, but I held off. When you do eat, make sure it is a big and sustainable meal.
- Dental cleanings will proceed as normal. Hygienists are trained to work with orthodontic appliances. Just give them a heads up that you are on Invisalign.
- If you suffer from nighttime bruxism (clenching or grinding), the trays doubles as a night guard. I no longer felt like I got punched in the jaw every morning once I started using the trays. My jaw was sore for other reasons, which you can read about here.
- It’s not weird to brush your teeth in a public bathroom. More people than you know do this. I had people ask me questions about Invisalign when they notice the case on the sink. You get used to carrying a toothbrush everywhere.
- There is a cycle from the moment the new trays are snapped in place to when it needs to be switched. It goes: pain and soreness, less pain and soreness, “it’s not that bad today”, “I don’t feel it anymore”, “crap, the new trays are in. Ow!”, repeat.
- Tip: Switch your trays the night before the switch date. It’s better to deal with the pain from the teeth shifting while you are asleep.
- Tip: Swish some water in your mouth before removing the trays. This made the problem easier for me. Some trays will be snugger than others, especially if buttons are being used. The ortho key is a useful tool at removing tight trays.
- Tip: If you find that the Invisalign cleaning solution does not make your trays sparkle, I recommend the Dental Duty tabs. I used half a tablet in a small cup of water for 20 minutes every morning. The trays come out clear. The link to the tabs is below. Amazon offers a four-month supply for $16.
The big day came February 7, 2020. I happily sat in the chair while Dr. V. removed the buttons on my bottom teeth. She then placed a permanent retainer behind six of my bottom teeth. It is a thin wire and I barely feel it. The final x-rays, photos, and scans were taken. I felt like I was graduating. I tried on the retainer for my top teeth. The plastic was thicker than the regular Invisalign trays and would also work as a night guard since I still clench my teeth at night (yay, bruxism). When I tried the plastic retainer on, I felt pain and had trouble taking it off. Several adjustments were made before it felt comfortable. I only need to wear the retainer when I am at home and when I go to bed. I have one more appointment with Dr. V, but other than that, I am done!

I am incredibly happy with the results from Invisalign. The money and soreness were worth it. I am going to miss Dr. V. and the team that worked with me to make my smile better. Being in the dental chair with Dr. V. helped reduce my anxiety at the dentist, and I learned a lot from overhearing conversations while my teeth were worked on. I hope this post clarifies anyone’s doubts about Invisalign. Results and experiences will vary depending on what treatment plan you need. I am happy to answer any questions. Always smile!
Photos: Rosa Elena Burgos
Last Updated: January 13, 2022
